Swift Student Challenge Development Process - Light Pollution Swift Playground

Having lived offshore for over 12 years, the dark and starry sky has been a part of my life. Observing how the moon followed me around brought some sort of magical experience.
Over the years, the invention of electric lights has brought human life a convenient way to light up through the night. However, the extensive use of these so-called artificial lights brings all sorts of impacts to the environment, wildlife, science, and surprisingly, human health too.
Light Pollution Swift Playground is a Swift Playground developed in SwiftUI as a part of the WWDC2023 Swift Student Challenge that was dedicated to sharing this phenomenon interactively.
In this first blog post, I will share my development process for developing Light Pollution Playground.
Planning and Research
Scheduling
First of all, scheduling is a must considering the tight deadline (29th March 2023, to 19th April 2023). A set of phases that I considered consists of:
-
Planning and Research (2 - 3 days)
The research phase focused on what I wanted to develop. This phase will serve as a foundation that I can hold on to for the rest of the development 😄.
-
Design and Development (7 days)
The design phase focused on visualizing the swift playground, which can come in various forms (paper sketch or digital). While the development phase focus on code, which is self-explanatory. In my case, the design phase goes along asynchronously with the development phase.
-
Testing and feedback phase (asynchronously)
The testing and feedback phase focused on testing the swift playground and getting feedback from friends or family.
-
The submission phase focused on (well) submission! All sorts of information will need to be prepared beforehand. For example, proof of student status from an accredited academic institution and your written content.
Buffer time (1 day) can also be added to mitigate any unexpected delay.
Building Foundation
With deadlines set in my calendar, the next part is to figure out what I will develop.
What story do I want to tell? What technology stack should I use? How will I create the assets? Do I need journal articles/books to support my findings?
These are some of the questions that I need to answer to serve as my foundation that I can hold on to for the rest of the journey! The more questions I have, the clearer my vision for this playground.
I spent around 2-3 days writing down various ideas to explore that are close to me, including sleep issues, color blindness, stable diffusion, and more!
In the end, I chose Light Pollution as the main foundation for my Swift Student Challenge submission as I would like to raise the beauty of the night sky. But guess what, it didn't just about the sky!
Research
To support this topic, I browsed the web to note down all information that I can find about light pollution. From news to journal articles that discuss several related topics.
All related research material sources can be found in my repository.
All the information was sorted based on the categories and then summarized into each respective section. Questioning skills are really important for this phase! With a clear understanding of the topic, I proceed to the next phase.
Design and Development
Design
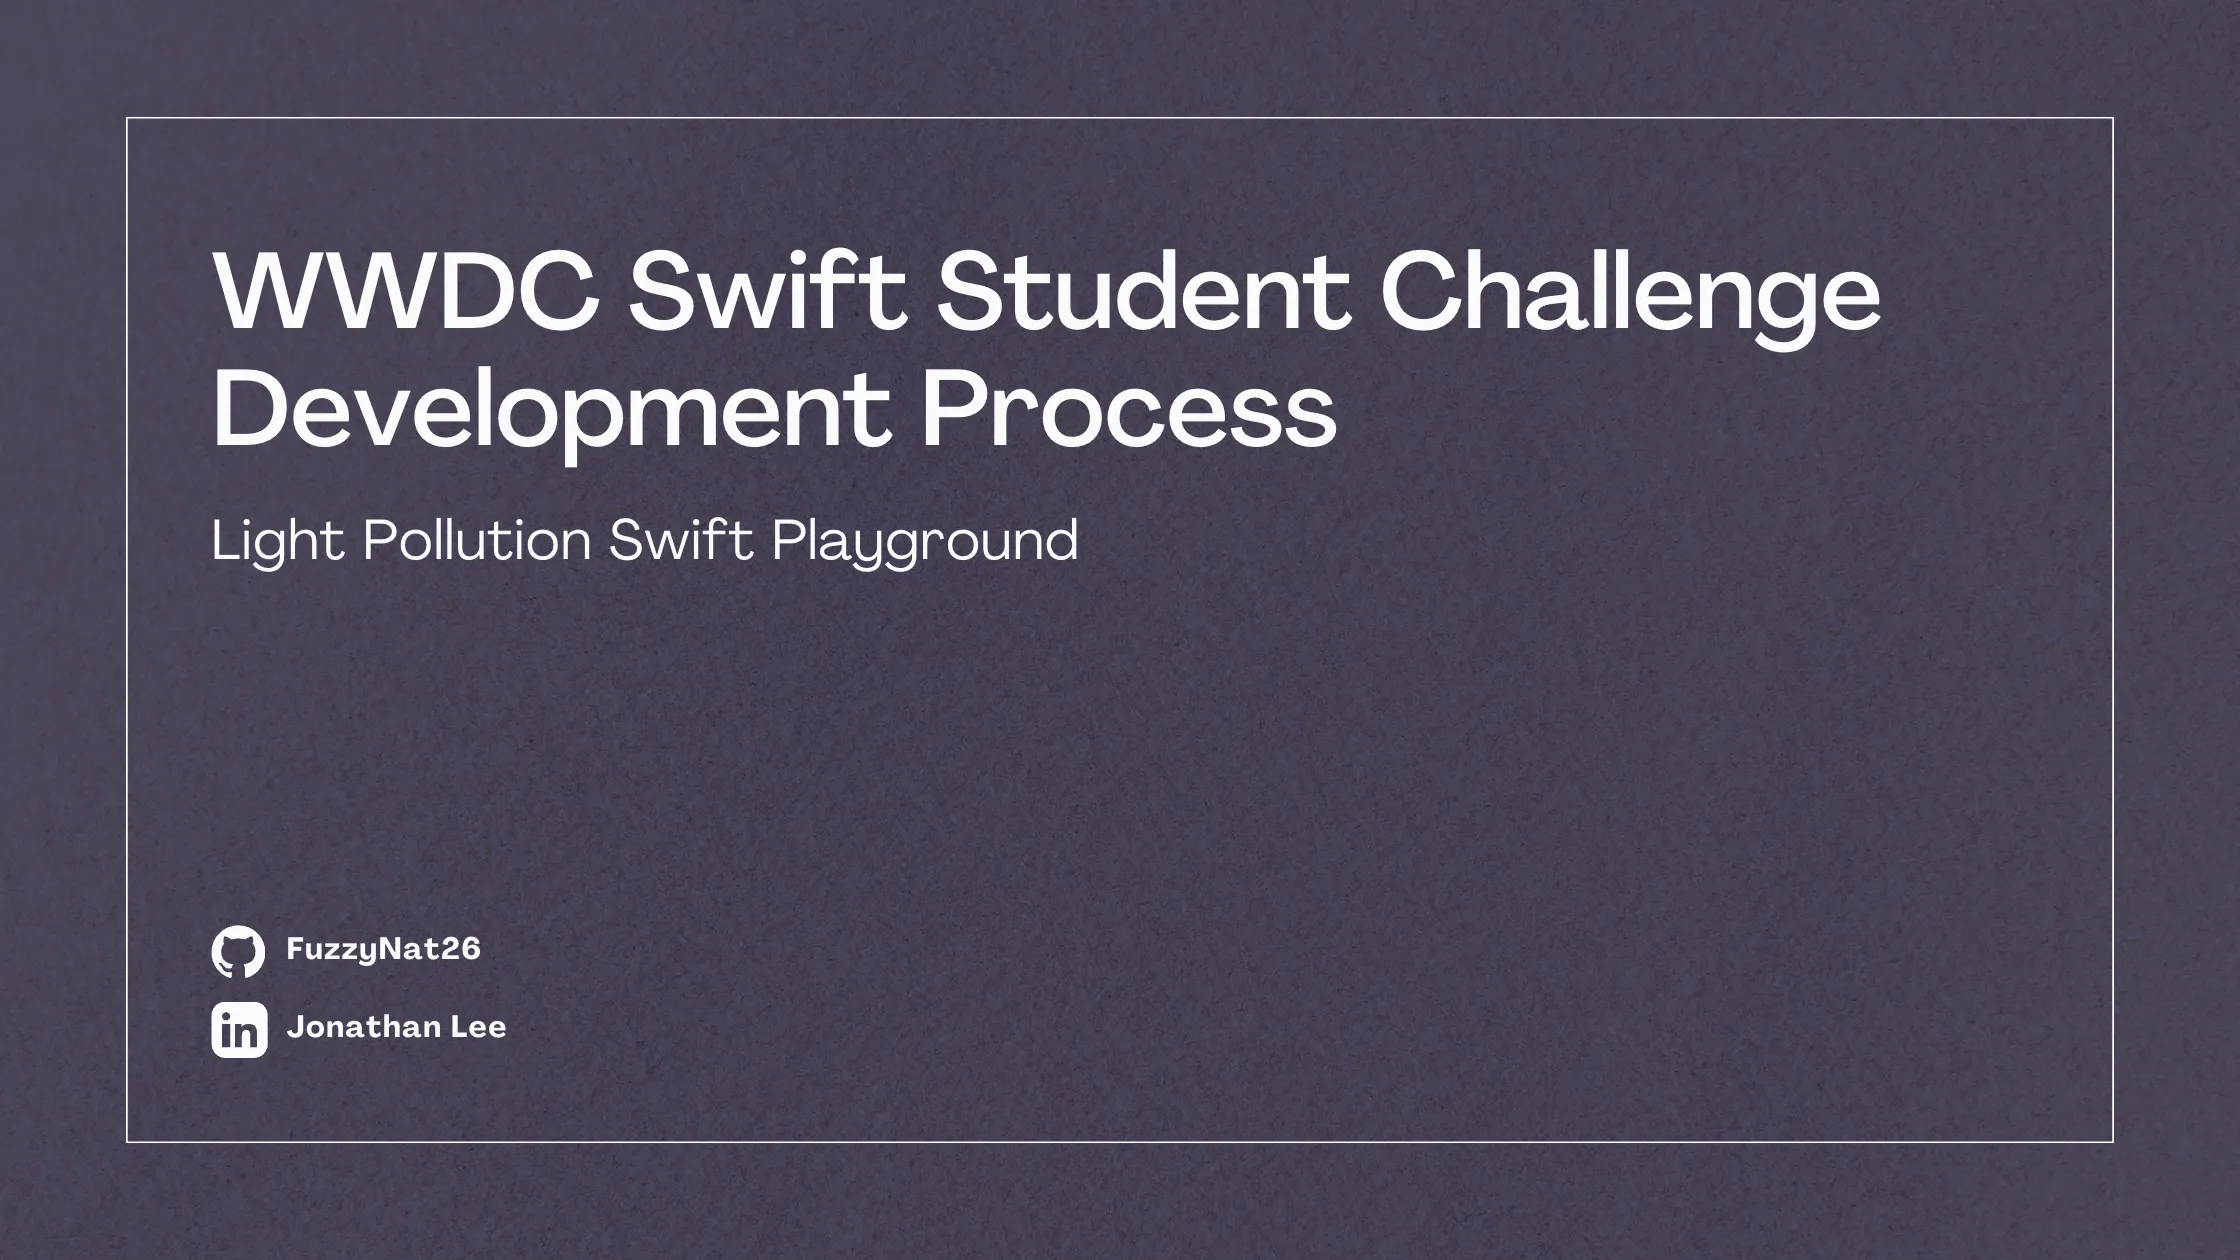
To visualize my playground, I use both papers to sketch and Figma as my main UI prototyping and assets creation tools.
To get an idea of how things should look, I look for references on the Internet. For example, light trespass is a phenomenon that can be simplified as a neighbor's lights shining through your house. So, I sketch a bunch of ideas to visualize this effect.
All assets were created by hand to avoid potential issues caused by copyright content. Most exported SVGs were converted to SwiftUI paths using SVG to SwiftUI Converter by Quassum. Mainly, I convert it just to understand how SVG works in SwiftUI Path and Image. My light switch also contributed to creating a sort of clicky sound effects 😂.
As the topic is around Light Pollution, the environment is a really important part of this playground. To simulate that experience, I have a sudden idea to incorporate system appearance for imitating a day and night environment. Each component will be designed in a way to adapt to the system's appearance!
After believing that my sketch looks clear enough, I proceeded to the code up the playground.
Development
Disclaimer, this might get a little bit technical and overly simplified.
To develop the playground, I specifically use XCode as the main IDE. Although Swift Playground has been optimized for this use case, I feel it didn't as responsive and straightforward as XCode.
With modular and reusable components in mind, I list down all pages and components that I might need for this playground. Their respective folder will be created based on the list.
.
├── Assets.xcassets
├── ContentView.swift
├── MyApp.swift
├── Package.swift
├── README.md
├── components  // contains modular components
├── models      // contains observable objects
├── Resources   // contains audio resources
├── utilities   // contains extensions, functions, etc.
└── views       // contains all views
    ├── main    // contains main content pages
    └── other   // contains other content pages
I start developing the playground by creating a navigation wrapper using the new NavigationSplitView API. Dummy pages that were based on Page object were used to test the navigation functionality.
Most page contents (aside from the introduction, conclusion, and credits page) were around HStack to make a two-column layout. The left side focused on the written content, while the right side focused on the visualizations.
Written content was made using ScrollView and Vstack while the visualizations were built using TabView to fit multiple components on one page. By combining the stack views (HStack, VStack, and ZStack), shapes that were built can be combined perfectly.
By default, HStack and VStack have a spacing of 8 between their child's views.
One topic that I would like to emphasize is the impact of color temperature on lights. During my research, I discovered that blue lights can cause glare and disrupt wildlife behavior. To highlight this information, I created a custom vertical slider using the DragGesture feature. Additionally, I used an algorithm developed by @davidf2281 which adapted to SwiftUI Color, which enables the visualization of color temperature on the streetlight.
To further enhance the experience, a clicky sound was integrated with components like light switch and slider using AVFoundation. The best part is the clicky sound was made using my light switch that I recorded on my phone and edited using Audacity.
MacOS GarageBand was also used to make a tone that indicate a correct answer for the last content page.
Based on the design phase, I also implemented appearance settings by utilizing AppStorage wrapper, preferredColorScheme method, and colorScheme value.
I planned to incorporate background sound to leverage the environment, like the sea and cityscape. But due to time constraints, I wasn't able to finish it. Hey, it's still turned out better than I expected 🌱
Testing and Feedback
Testing
As inefficient as it sounds, I test the playground for every completed page to make sure the components didn't break 😀. Some cases that I tested involve, include:
- Light mode/dark mode related components,
- Portrait/landscape layout (for iPad pro 12.9" simulator),
- Run it on Swift Playground,
- Try every interactive component while checking the performance, and
- Click everything and hope it didn't break 🥴
Any issues that were found will be immediately noted down and think of a way to fix it. But of course, nothing is 💯 perfect.
After passing the submission deadline, I manage to find two components that are not working as intended which I fix and documented in my repository.
Feedback
We all need people who will give us feedback. that's how we improve.
- Bill Gates
Feedback is one method that I use to improve this playground. During the development process, I mainly asked my partner for her honest opinion about the playground as she is a UI/UX designer 😀. Through her feedback, I was able to improve things to bring a better experience!
Submission
Before starting the development phase, (of course) it's best to prepare submission documents beforehand. Since I participated as a student from an accredited academic institution (Universitas Internasional Batam), I need to prepare a Certificate of Enrollment (Surat Keterangan Mahasiswa) to prove my student status.
Also on this day, I mainly focus on designing the playground's icon, writing the description of the playground, and giving a final check to the playground.
I drafted 4-5 times until I am satisfied with the contents.
Results and Conclusion
Developing Light Pollution Swift Playground has been an exciting journey for me. Throughout this development process, I learned a lot more about light pollution, managing my time, and better planning overall.
The result is still unknown when I post this. I set my target to explore and engage with the topic that I choose when participating in this student challenge. I would be lying if I said that I didn't hope to be one of the winners, but winning is just a perk to doing something productive 🌱
I hope that this Swift Playground will not only help to raise awareness of Light Pollution but also encourage people to contribute to preserving our beautiful sky.
Thank you for reading this blog post, and I hope you find it helpful!
Additional Resources
- Light Pollution Repository (detailed credits can be found in the repository)
- SVG to SwiftUI Path
- Color Temperature to RGB
Acknowledgements
- Apple for hosting this event.
- Apple Developer Academy @IL Batam for the facilities.
- My family who gave support despite didn't know what am I doing 😂
- My partner who help me test the playground and also gave support through the development phase.